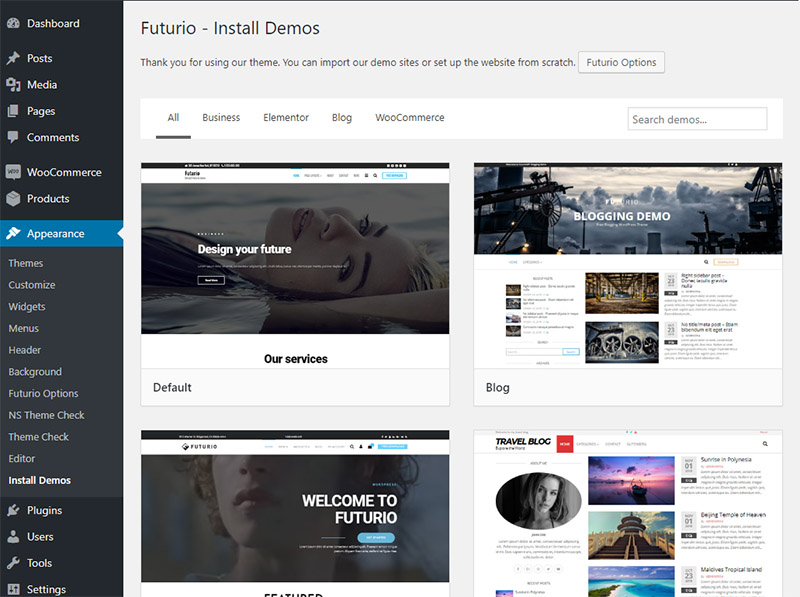
You can import our sample data. First, check that you have installed and activated Futurio Extra plugin.
Install the sample data in one click
- Go to Appearance > Install Demos tab.
- Click on the demo you want import
- Install the required plugin(s) for the demo and go to next step
- Check what you want to import and import the demo

Import will not modify or remove your existing content or customizer options.
Examples:
If you made some changes before the import (for example if you set the logo), the importer will skip this option during the import and your logo will not be affected.
If you set your “Homepage” under Settings – Reading, before the import, it will not be affected after the demo import and you must set the “Home” page as your “Static page” if you want same layout as you see in demo.
Install the demo data manually
If you can not install the sample data using the Demo Importer or you want to do so manually, follow the steps below.
1. Install the required plugins and import the theme options and widgets
Go to Appearance – Install demos click on the demo you wish to import and install all the required plugins. Go to next step and import customizer settings and widgets
2. Download the sample data
Download the sample data from HERE and extract the zip file. Locate the folder with your demo you wish to import and find demo XML file
3. Import the sample data
Once you have located the xml file you wish to import, log into your WordPress website and navigate to Tools > Import to begin the import process. Click on the WordPress option “Run Importer” (install it first). Then click the Choose file button to select the xml sample data file you would like to upload, and click Upload file and import.
– Assign the posts to an existing user
– You’ll also see an option to import file attachments. Check this box only if you want to import all of the image and media files included in our demo.